Showing posts with label Project Life. Show all posts

Thursday, 31 March 2022

Pocket Page AND a Travellers Notebook Page | Cocoa Vanilla Studio


Hi everyone,
Following on from my recent post with the mixed media layout I created for Cocoa Vanilla Studio using the 'No Limits' collection, I also created a companion pocket page to go alongside it using the same range. (You can see how they look side by side in the photo above.) 
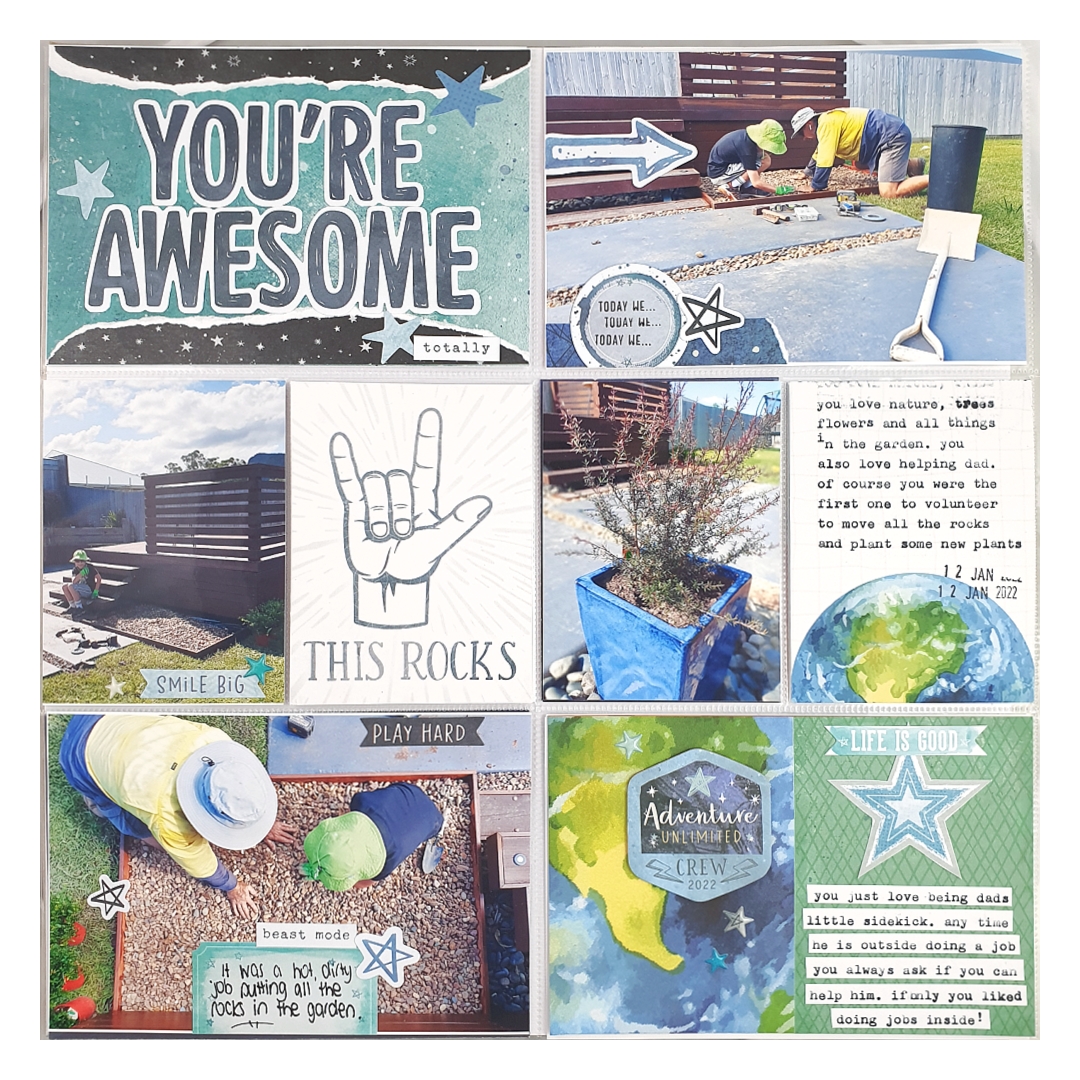

This pocket page was created to tell more of the story about my son helping his dad out in our garden. I love doing this style of page, as they not only give me the chance to record more details about a story, but also to get more photos off my camera roll and printed. 

The Cocoa Vanilla Studio 'No Limits' collection is not only perfect for documenting boys, but all kinds of adventures and moments. The fact that the range comes with Pocket Cards made it so quick and easy to put this layout together.

You can watch exactly how I did it in my process video:


If you haven't subscribed to my YouTube channel yet, I would love it if you did. I've been putting a lot of effort into creating and sharing scrapbook content so I can reach as many people as possible. (Any time you leave me a like or comment on my videos helps their reach so others can see them too.)

Here are the close-up images of my pocket page...


Before I go, I have one more quick and easy project to share. You may recall the traveller's notebook page of my son I shared recently? This is the page that I created on the other side of the spread in his book, which was also using the 'No Limits' collection...


A very quick and simple page, but another memory recorded in his book and that's what it's all about, right? 
If you want to see this one come together, you can watch my one minute video HERE

Thanks so much for stopping by today so I could share this with you. Until next time, happy scrapping!


Monday, 28 February 2022

You Got This | Cocoa Vanilla Studio


Hi everyone,

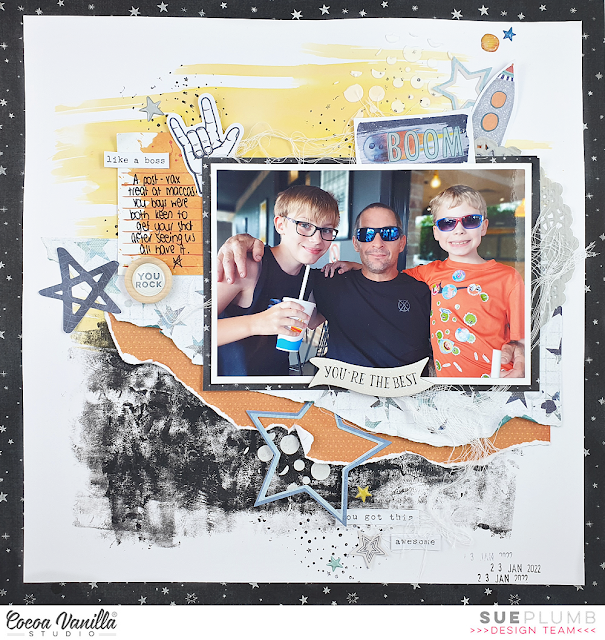
Today I am popping by with a pocket page to share with you. If you have been following along my recent scrappy adventures you will already know I am making an effort to get some extra pocket pages created lately. This one is my latest, and was designed as a companion page for the mixed media layout I shared a week ago using the new Cocoa Vanilla Studio 'No Limits' collection. This page documents more of the details about the day my boys went and got their COVID vaccine.

Here's a reminder of my layout...


And this is the pocket page that will sit alongside it in my album...


I used a range of items from the 'No Limits' collection including pieces of the Stardust and Eclipse 12x12" patterned papers and Pocket Cards to fill the pockets where I had no photos placed.


From the embellishment range I used a number of pieces from the Die Cut Ephemera pack and Accessory Stickers sheet. The title was created using words from the Die Cut Titles pack.


I used a mix of both handwritten and typed journalling, which included typing directly onto one of the pocket cards and also some strip journalling.


Although this collection features some space themed imagery, it is by no means a fully themed collection. There are so many bright, fun elements in the range that could be used for almost anything. 

Due to a request from one of my lovely friends, I have created a pocket page process video so you can see my method when I put these pages together. I've also got a couple of tips in there that you might find helpful if you are interested in this style of memory keeping. If you would like to see more pocket page process videos, please let me know in the comments section here or over on my video.

Watch my process video here:


I hope you've found this post interesting today. If you have another sort of project you would like to see me tackle, or something you would like to see me use, please hit me up with your suggestions because I love a challenge!
Until next time, happy scrapping! X

Friday, 14 January 2022

Colour Run | Cocoa Vanilla Studio


Hi everyone, today I have a quick share for you and yes, it's another pocket page. As I mentioned in a previous post, I have been making a concerted effort lately to ensure that each time I create a layout, that I also create an accompanying pocket page to go with it. This small amount of extra time is helping me get more photos and details documented for my family, and also use up some extra stash too.

The last layout I shared here was a mixed media page I created for Cocoa Vanilla Studio using the 'Sunkissed' collection, so of course today's page also features the same collection and documents some extra photos and details about my sons' colour run at school. 


Thankfully, this collection features a pack of Pocket Cards, which makes creating these pages so much easier! I used three different 3x4" cards on this page - one with the look on the bright side quote, and two journalling cards that I typed onto. 


For my title card, I used a piece of the Feelin' Fine patterned paper that I had cut down to 6x4" as the base. I used some old Cocoa Vanilla alphas from my stash for the word colour (the same ones I used on my previous layout). I then added the word fun that was fussy cut from a Die Cut Ephemera piece; and the word run which was created with a couple of hand cut letters, an upside down fussy cut rainbow and a white pen. A die cut sun and a clear sticker finished the card off. 


As with most of my projects, I couldn't help myself but embellish the photos directly and I also added some extra little details to my cards. I used a mix of Accessory Stickers, Clear Stickers and Puffy Stickers - all perfect for this style of page as they fit easily into the sleeves.


That's all from me for today, thanks for stopping by! If you have any questions, or if there is anything you would like to see me do over on my YouTube channel, I always welcome your suggestions and feedback.
Until next time, happy scrapping! X

Tuesday, 28 December 2021

Oh Christmas Tree | Cocoa Vanilla Studio


Hi everyone, I hope you had a lovely Christmas with your loved ones?! I was so happy this year to just have a quiet day with my hubby and kids making memories in our new home. Today we are off to do family Christmas with relatives. (How many Christmas celebrations do you do?)

Now, following on from the mixed media layout I shared last week using the Cocoa Vanilla Studio 'Joyful' collection (which you can see in the image above), today I am sharing a companion pocket page to go with it. This page also features the 'Joyful' collection, and documents more of the details about my family's tradition of putting up our Christmas tree.


For the paper component of my pockets I used four 3x4" cards from the 'Joyful' Pocket Cards pack and a piece of the Deck the Halls 12x12" patterned paper that I cut down to fill the 6x4" pocket. (This coordinated perfectly with the border strip I used on my 12x12" layout, which helps to tie the two pages together in the album.)


I used the paper as the background for my title card, then added the Christmas Tree from the Die Cut Ephemera pack topped with a Gold Glitter Puffy Star. For the text I used the gold foiled word Christmas from the Chipboard Sticker sheet, and some gold alphas from my stash. (I think they might have been Crate Paper ones?)


I used my typewriter again to add my journalling to the Pocket Cards, adding a tale about our cat to match with the photo of him I had included. (Yes, he is a weirdo!) On several of the photos I added some small embellishments including Accessory Stickers and Puffy Stickers


I left some of the Pocket Cards just as they were as I didn't think they needed additional embellishments. Not only did it make completing the page easier, it also helped keep it from looking cluttered.


Adding these pages to my scrapbook albums makes it so much more interesting for my kids to flip through, as the extra photos and details are what they are really interested in (not so much my pretty work! haha) If you haven't already tried incorporating pocket pages into your albums, I would highly recommend having a go. (If you already have plenty of scrapbook supplies, then the sleeves are the only thing you really need to get started!)

Here's a look at how the pages will look side-by-side in my album...


Thanks to everyone for all your lovely feedback on the previous pocket page I shared, now I know there are so many people interested in them, I will continue to share them when I can. I'm sorry that I don't make process videos for these pages. This is because there isn't actually a lot of content, and I don't tend to do them in one sitting either. Anyway, I'll keep the extra pages coming when I can.

Thanks so much for stopping by today so I could share this with you. I hope you have a happy and safe New Year! X

Tuesday, 14 December 2021

Making Cookies Together | Cocoa Vanilla Studio


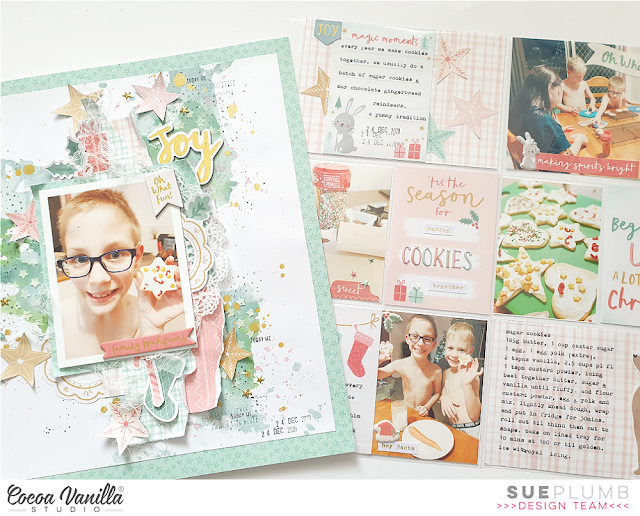
Hi everyone! Do you remember the mixed media layout I shared last week featuring the Cocoa Vanilla Studio 'Joyful' collection? Today I am sharing a pocket page I created as a companion page to that layout, which also features the 'Joyful' collection. The reason I created it, is that I wanted to document more photos and record details about the story, and I often find that this is the perfect way to do it. I used the same collection for both pages as I have designed them to sit side-by-side in an album, and I like them to be cohesive. (You can see how they look together in the image above.)


For the paper component of my pockets I used four 3x4" cards from the 'Joyful' Pocket Cards and the B side of the Advent 12x12" patterned paper that I cut down to size.
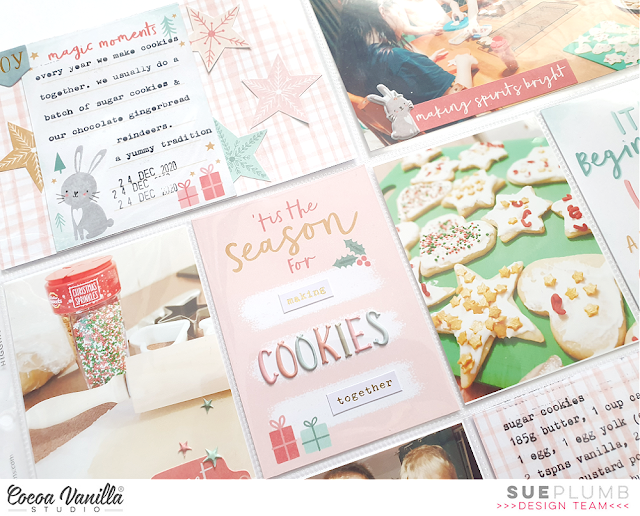
(The small puffy alphabet stickers you can see in the image below were the only thing not from the 'Joyful' collection, they were from the 'These Days' collection but the soft colours were a great match!)


I used my old typewriter to add my text, as I love the imperfect, grungy look of it. As well as adding the details behind the story onto the journalling cards; I took the opportunity to type out our Sugar Cookie recipe on one of the 6x4"pieces of paper to include in the spread. The recipe looked super cute with the bear from the Die Cut Ephemera pack positioned beside it.


When it comes to pocket pages, my approach to embellishing my photos is much the same as my layouts, as I like to stick things directly onto my photos. Ephemera pieces, Accessory Stickers and Puffy Stickers are all good choices as they don't add much bulk when the photos are placed into the sleeves.


Don't feel restricted by what style or design of sleeve you have, just make it work for you! In the image below I used a 3x4" card and a 3x4" photo to fill a 6x4" pocket. (Just stick them both onto a piece of paper or cardstock cut to 6x4" to stop them sliding out of place.) Similarly, if you only have two 3x4" pockets alongside each other but a 6x4" photo, just cut it in half!


I hope you've enjoyed seeing this pocket page and reading a bit of my explanation behind it. I often create these companion pages for my albums but don't necessarily share them, so if this is something you would like to see more of, please let me know.

Until next time, happy scrapping! X

Wednesday, 6 June 2018

Hello Summer | Flutterby Designs


Hi everyone!
Popping in today to share my latest design team creation for Flutterby Designs. You may recall my previous post with my layout for this month's Scrap the Girls challenge? (Which is being sponsored by Flutterby Designs.) The pocket page I am sharing today, also using the Flutterby 'Good Vibes Only' collection, was designed to sit side by side with the layout - as you can see below.


I had quite a few photos that were taken on this day that I wanted to include, and a great way to do that is by creating a pocket page to compliment your traditional 12x12" layouts in your album. The 'Good Vibes Only' collection is perfect for documenting all your summer memories, just like my day out at a music festival with my bestie. So. Much. Fun.


When working with pocket pages, I always start by printing the photos I want to include and laying them out on top of the pockets. I had already looked through all the Everyday Etc cards and filler cards from the collection and sorted a pile that coordinated; so it was simply a matter of trying them out and finding an arrangement I was happy with before I started sticking things down.


Some of the additional Flutterby items I used in my pockets included Sticky Quotes (from both the 'Good Vibes Only' and 'Xtreme Teen' sheets); Blackboard Sticky Quotes; 'Good Vibes Only' Die Cut Bits & BobsTeal Sticky Alphas; and Rainbow Heart Stickers.


I also used one of the super cool acrylic words that comes in the 'Good Vibes Only' Kit; along with a few enamel dots (because enamel dots go with evvverything, right?!)

I was really happy with how this fun page turned out; and it served as a great reminder that I need to make this sort of complimentary page more often for my album. Such a fabulous (and easy) way to include multiple photos on a spread.

For anyone coming to the Brisbane Scrapbook & Papercraft Expo this year, I will be there Thursday and again on Sunday, so if you see me make sure you come over and say hi!

Thanks for stopping by, I will be back soon with another project to share.
Until then, happy scrapping! X

Tuesday, 25 October 2016

Eat St | Flutterby Designs

Hi everyone!
Popping in today to share my most recent Flutterby Designs project, and this time it's a pocket page spread. For all of those who live in south-east Queensland, you have most likely already heard of the Eat Street Markets that run on Friday and Saturday nights in Brisbane. But for you those of you that haven't, it's been described as the "ultimate foodie extravaganza" - a boutique market that features a fabulous variety of international street food vendors.

*LANGUAGE WARNING*
The following images contain language that may be offensive to some. 
The same language may be amusing to others.
I will leave it to you to decide which one you are.

I often use this style of scrapping to document events as it provides the opportunity to include lots of photos.
Here's a look at the whole spread...


As you can see, it's quite busy, with lots of colour; fun elements; and plenty of photos and journaling - just the way I like it!

Here's a closer look at each side...


I used a variety of Everyday Etc cards as the focus for these pages; even cutting some of them up to use as embellishments. I also used Blackboard Sticky Quotes; Snippet Strips; flair button; enamel dots; wood veneer; rainbow heart stickers; "You've Got This" stencil; and photo cut out tabs.

Here's a few close-ups...


Thanks for stopping by today so I could share this with you. I hope this has inspired you to get your own Flutterby stash out and get creative! (And if you don't have any stash yet - get on it! You can find the store HERE)
Til next time, happy scrapping! X

Tuesday, 12 April 2016

Pocket Pages for Cocoa Vanilla Studio!

Hi everyone!
Just popping in to share my latest work for Cocoa Vanilla Studio and today I have a pocket page post for you showcasing three different collections.
As a scrapper that likes to make the most of my materials, one of the things I like to do is use left over bits and pieces from collections to create pocket pages.

"Train Ride" - Totally Rad collection
The 'Top Gear' paper was perfect to use on this page about my boys first train trip. I also used the 'Happy Snaps' and 'Line Up' papers; accessory stickers; die cut ephemera (how cute is that robot?); flair button; acetate stars; and enamel shapes.


"Best Day Ever" - Life is Beautiful collection
For this page I used pieces of the 'Beautiful Day' paper (my favourite from this collection) and also the 'Heart Song' paper; die cut ephemera; stickers; and enamel dots. (It doesn't take many materials to make pretty pocket pages!) 


"Christmas Lights Tour"- Tis the Season collection
I had so many photos on my phone from various Christmas events, that creating some pocket pages was just the push I needed to finally get them documented! (Pocket pages are great for those phone photos that might not otherwise make the grade for a "traditional" type of layout.)
Besides the papers from this collection, I also used die cut ephemera pieces; accessory stickers; and enamel dots on my pages.


"Christmas Eve"- Tis the Season collection


Thanks for stopping by today. I hope I have inspired you to look at those left over bits and pieces a little differently now!
Til next time, happy scrapping! X