Showing posts with label altered book. Show all posts

Wednesday, 26 December 2018

Too Glam - art journal page | Colour Blast


Hi everyone!
Today I am here to share my latest Colour Blast design team project with you. This fun, colourful art journal spread that I created in my altered book journal was inspired by summer; and features Colour Artist Inks, Colour Pastes and a Colour Shimmer Brush Marker.

Here's a look at the entire spread...


And now for my process...

I began by priming my page using White Heavy Gesso. I used an old gift card to spread it to ensure a thin, even coat. I didn't want it too thick, as I still wanted some of the text to be visible.


Next, I began adding colour to my pages using Colour Artist Inks. I chose Berry, Bordeaux, and Slipper as my colour palette - all shades of pink / purple. I used a small, round brush to apply the ink, starting with Berry around the outer edge, then moving to the lighter Bordeaux inside it.


I then dried the two colours off with a heat gun before going in with the Slipper ink to add some extra colour along the very outer edge and in a few spots over the top of the Berry ink. 


Once all the inks were dry, it was time to add some features and dimension to my page. I used the 'Dream of Palms' stencil from StencilGirl; which I paired with Deep Water Colour Paste. I applied a thin layer of paste through the stencil in the top right corner of my page, before flipping the stencil over and applying more paste on the left side. 


I then moved onto adding the focal point for my page. I cut out a flamingo from a printed paper napkin and adhered it onto the page using a gel matte medium. I also tore up some other pieces featuring flowers and leaves and collaged them onto the page as well. The quote was cut from an Everyday Etc card from Flutterby Designs, and I thought it was a perfect sentiment to use for a flamingo! 


To add a little extra texture and colour I then swiped some Lovely Lilac Colour Paste over a few random areas of my page with a narrow palette knife.


Next, I wanted to add some contrast and a little extra sparkle, so I used a Gold Colour Shimmer Brush Marker to add some highlights through the branches of the palm trees and on top of some of the collaged pieces. Sometimes it's hard to capture just how gorgeous the sparkle is in photos (especially when you are taking shots and the sun won't come out to help you!)


I decided my focal image needed a little something extra to help it pop and stand out from the page, so I used my Stabilo All pencil to add some shadowing to the outline. Once I had drawn it in, I blended it out with a water brush.


To finish off my page I decided to add some splatter using Cider Colour Artist Ink. I simply dipped a small, stiff bristle brush into the bottle and then tapped the ink off around the page.


You can see how the Cider ink brought extra warmth to the page and helped to tie in the gold from the Colour Shimmer Brush Brush Marker...


Here's a closer look at the finished page, so you can better see the colours and texture...


I love all the layers at play here...


That's all from me today. I hope I have inspired you to pull out some supplies and do some post-Christmas crafting.
Until next time, happy creating!

Saturday, 22 December 2018

Stamped Bookmarks and Notebook | Viva Las VegaStamps


Hi everyone!
Popping in today share a Viva Las VegaStamps design team project with you. As we head into Christmas, I thought it would be a good time to share a couple of simple appreciation gift ideas with you. There are always people in our lives that deserve a small token of our thanks - whether that be teachers, neighbours, friends, the mailman, or even the staff at the local store. So I decided to whip up some simple bookmarks and notebooks featuring some of my fave Banksy stamps to give out.

For the notebook, I started with a plain, kraft cover notebook (purchased from Kmart). I used Dina Wakley acrylic paints, applied with a brayer and layered randomly to add some colour. I then took the recently released Victorian Flower Background and used it to stamp a border around 3 sides of the cover.


Next, I chose the fabulous Banksy Wall Singer for my feature image on the cover, before I also stamped the Banksy Life is Beautiful as the accompanying text. I love how it turned out! I paired it with a pen before wrapping it up.


After I created the notebook, I decided to re-visit a project I have created previously and shared here - bookmarks. (You can find my original watercolour bookmark post HERE) This time however, I wanted to use a more minimalist style to showcase some cool Banksy stamps. 


I started by cutting some smooth white cardstock into strips measuring 2x8.5". I then stamped a focal Banksy image onto each one, and an accompanying quote as well. 
Here is a list of all the stamps I used on the bookmarks (as shown from left to right above):


I also stamped the back of each bookmark with the Banksy stamp.

Once they were all stamped, I used Faber-Castell gelatos to add a splash of colour to each one. I wanted to keep them minimal, so I only used a single colour on each one and left the focal images uncoloured.


I then took all the bookmarks and laminated them, trimming off the excess laminate with a trimmer.

I then punched a hole into each bookmark and added a variety of twine, tassels and a metal charm to decorate them.

  
I am so happy with how these turned out and cannot wait to gift them to their new owners! Thanks so much for stopping by so I could share this with you. I hope I have inspired you to create some special handmade appreciation gifts for the people in your lives too.
Until next time, happy scrapping! X

VLVS stamps used:
Banksy

Thursday, 13 September 2018

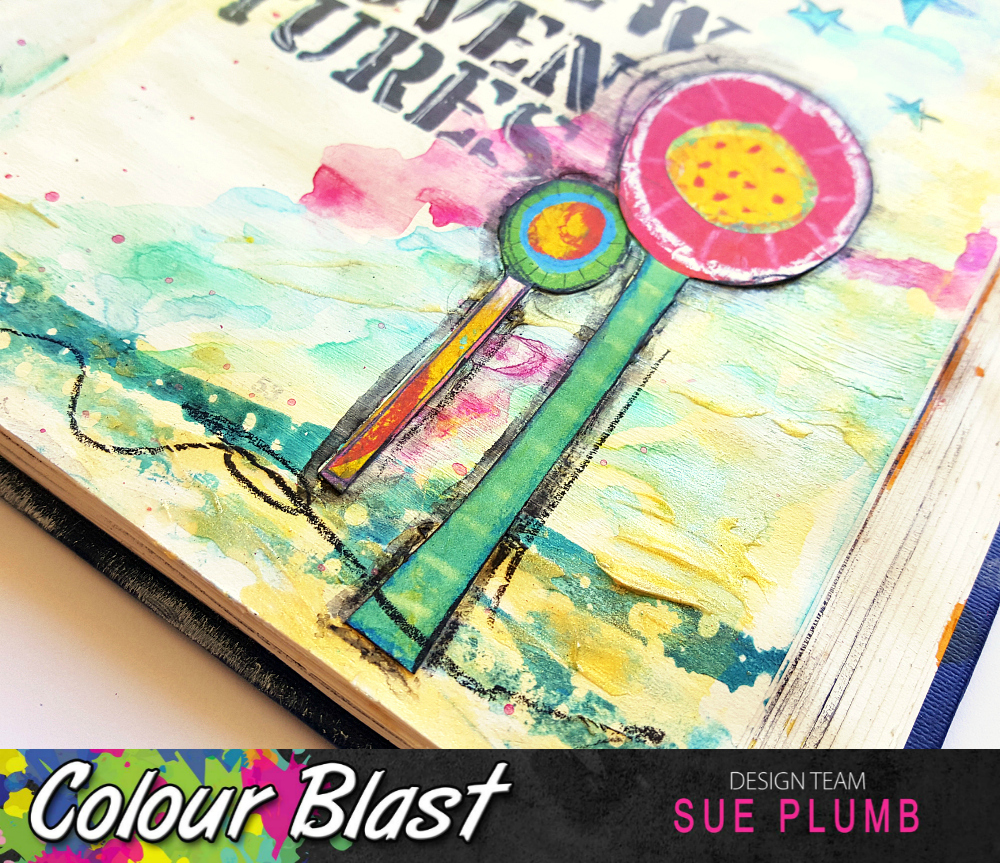
Say Yes to New Adventures | Colour Blast


Hi everyone!
I'm back with some art journal fun to share today! This time, a whimsical style double page spread I created in my altered book journal for Colour Blast using Colour Shimmer Cubes and Colour Paste.

Unfortunately, the Colour Shimmer Cubes are now a retired product (you may still find them available from selected retailers); but despite this fact, if they are in your stash they still need to be used! (If you don't have any cubes, you could still create a project like this using an alternative product, such as Colour Shimmer Dust, Colour Shimmer Spray or even Colour Artist Inks.)


Now, onto my process.
I began my spread by adding a coat of white heavy gesso to my pages using a brush. I chose to use a brush this time as I wasn't concerned about getting a thin, even coverage. If I was working on a scrapbook layout I would usually apply it with an old gift card, but I am less fussy in my journal, so a brush it was.


Whilst the gesso was drying, I chose the Colour Shimmer Cubes I wanted to use and gave the surface of each one a spray of water, then set them aside for a few minutes to moisten. I then grabbed a medium rounded brush and a cup of water and began applying my first colour - 'Sunshine', using a dabbing motion. As I applied the watercolour, I kept dipping my brush into the water to ensure that it was nice and wet going onto the page, allowing me to move the paint around.

After I had the Sunshine on the page, I then repeated the process with 'Singin' the Blues'; 'Envy' and finally, 'Lipstick'. (It is important to remember that the shimmer cubes, like all watercolour paints, will re-activate each time they are wet, so take care when applying one colour over another to ensure you don't make "mud".)


After I had all the colours dried, I decided that a couple of areas weren't quite as vibrant as I would have liked, so I added a little extra colour over the top before drying again.

The next step was to apply some stamping, so I reached for the new August release Colour Blast stamp set and used some of the stamps to add extra interest to my page.


After the stamping was complete, it was time for some texture and shine. The gorgeous golden 'Bling' Colour Paste fit the bill perfectly, and I used it with another of the August new release products -  a stencil. I used the dot section of the stencil along the top portion of my page, applying the paste using a palette knife, and then wiping off the excess paste randomly along the bottom edge of my pages.


I then added the focal points of my spread - some digital collage elements sourced from Mischief Circus that I had printed out and fussy cut. I used a liquid adhesive to adhere them to the page.


At this point my collage pieces were looking a little flat on the page and were in need of something to give them some depth and to help them pop. The answer? My trusty Stabilo All pencil. I added a rough outline around each of the pieces and then used a water brush to blend the lines out. (These pencils are water soluble.) I also used the pencil to add some outlines to the stamped stars, some small crosses, and a few random scribbles. (I left these lines untouched though.)


Now my all my spread needed was some text. Enter yet another new August release Colour Blast stencil - this one with a fabulous quote. I used a permanent ink and a sponge dauber to apply the ink through the stencil. (Confession time - I actually changed my mind after I took this photo and began sponging the title, and switched to black ink.)


To finish off, I used a fine white paint pen to add some detail to the inked letters.

Let's take a closer look at the details...


Adding the shadows around the outlines of the collage pieces makes a big difference in helping to bring them to the foreground.


Close up you can see the different layers and how they all work together to give depth to the page.


Wiping off the excess Colour Paste from the palette knife roughly onto the page gives a great textured result. And look at that pretty shine too! 


And who doesn't love a bit of bling, right?


Thanks for stopping by today so I could share this with you. If you have some Colour Shimmer Cubes in your stash I hope I have inspired you to get them out and use them. If not, why not try creating a similar style project with an alternative Colour Blast product?
I will be back again soon with another project to share. Until then, happy scrapping! X 

Saturday, 8 September 2018

Dragon Dreamer | Viva Las VegaStamps


Hi everyone!
Popping in today with my latest design team project created for Viva Las VegaStamps for you. Today I am sharing a page I created my altered book art journal using the Aagar the Emotional (dragon) stamp as a focal point. I have been dying to use this stamp and I figured what better way than to give it an entire page in my journal.


I started my page by giving it a coat of gesso to prime the paper before using some Faber-Castell Gelatos to add colour. I simply scribbled randomly around the page before using a baby wipe to blend the lines out.


Next, I turned my attention to my Aagar the Emotional focal image, which I stamped onto smooth white cardstock before colouring with Faber-Castell watercolour pencils. I then used a water brush to blend the pencil lines out before cutting the image out. Once I had cut around the image, I used the same Gelatos as I had used for the background to colour the small amount of white space around the edges.


Once I had my dragon complete, I followed the same process with the Doodle Frame stamp, and set the pieces aside so I could add them to my page. I also stamped out some hearts with the Scribble Heart stamp, which I also coloured and cut out. 


Next, I turned my attention back to my page. I used the Ethos Shape stamp repeatedly around the page with black ink to add interest to the background before sticking down all the pieces I had prepared.
I used the She Was a Dreamer stamp to add the quote to my page; then Doodle Dots stamp with green ink to add some subtle detail and a Stabilo All pencil to finish off with a bit of shadowing and scribble.


Here's a closer look at the finished page...


Thanks for stopping by so I could share this with you. I hope I have inspired you to get inky too!
Until next time, happy scrapping! X

Wednesday, 11 July 2018

Take Me There | Colour Blast


Hi everyone!
Sue Plumb here to share my latest design team project with you. Today I am sharing a fun spread in my altered book art journal using Colour Artist Inks and Colour Paste. This page was inspired by the image of the hand holding the cocktail glass (those that know me, know how much I love a cocktail!); that I cut from a magazine advertisement. 


To create my page I began by roughly smearing some white heavy gesso across the book pages using an old gift card. I didn't go all the way to the edges of the pages, or worry about complete coverage as I wanted to show some of the original book paper.


I then added some colour to my pages using Oasis Colour Artist Ink, which I brushed on and then used a little extra water to move it around before using my heat gun to dry it off.


Once I had the base ink colour down, I wanted to add some contrast and texture using Fire Engine Colour Paste and a stencil from Flutterby Designs. I applied the paste through the stencil using a palette knife in 3 small areas close to the edges of the page; creating a "visual triangle" around where my focal image and words were going to be placed.


Once I looked at the red paste against the blue ink, I decided that it the contrast was too great, and I needed another colour to bring the two together. The obvious choice was a colour that met somewhere in the middle, so I looked for a shade of purple and chose Berry Colour Artist Ink. Again, I used a brush to apply the ink, dabbing it over and around the areas where the paste was to tie the colours together.


Once I had dried the background off, I added the large focal image that I had fussy cut from a magazine; along with the take me there quote that I had fussy cut from a Flutterby Designs Everyday Etc card; a Flutterby Designs sticker and a line of text from a magazine. I then used a Stabilo All pencil to outline them all, before blending it with a water brush.


To finish my page I added some white highlights using a paint pen; some stamping using a roller phrase stamp and the Doodle Dots stamp from Viva Las VegaStamps


And last but not least, a single sweet little heart sticker.


That's all from me today, thanks for stopping by so I could share this with you. If you are an art journaller (or even if you aren't...yet); I would encourage you to keep an eye out everywhere for items you can use in your journal. (I keep a folder specifically for collecting things of interest that I find.)
Until next time, happy scrapping! X