

Hi everyone!
Popping in today to share a Colour Blast design team project with you. Today I have something a bit different - an abstract floral painting I created using Colour Artist Inks.
This painting came about one day when I was having a bad day. I felt like losing myself in something creative, but just wasn't sure what I wanted to do. As I was sitting and looking out the window, I was staring at some flowering bushes over the fence in my neighbours yard. That was enough inspiration to get me started, so I pulled out a sheet of watercolour paper to see what would come out.
The result was an abstract floral painting, inspired by the colours and shapes of my neighbours plants...
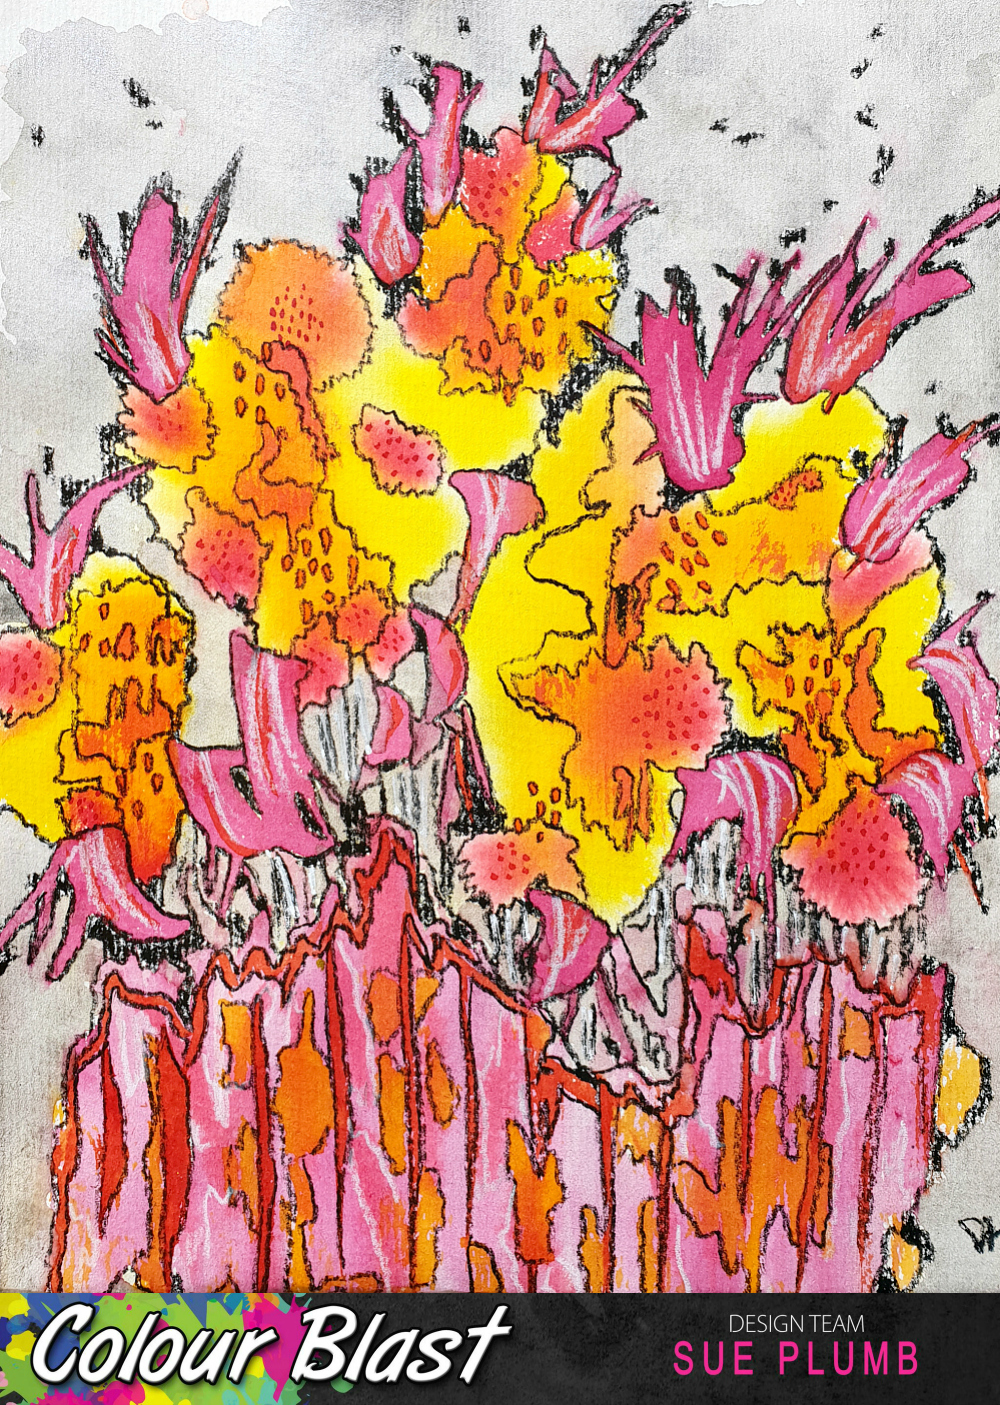
I took photos along the way to document my process so I could share it. These are the supplies I started with - a sheet of watercolour paper and a range of Colour Artist Inks in warm tones (Slipper, Cranberry, Sunburnt, Citrus, Cider, Barley, and Spice.)

I started my misting my paper lightly with a water spray bottle to make it a little wet, to help the inks to wick out as they hit the paper.
I began with the lightest tone - Citrus as my base, and then built on it from there; adding some smaller areas of Cider over the top; then smaller again with Cranberry. I used a small round brush and a gentle dabbing motion to apply the ink to the page, allowing the paper to naturally draw the colour from the brush.

You can see in the close up below how the inks wick out with the use of the water (bleed / spread across the page) and then in the second shot below how they look once they had dried.

Once the base colours had dried, I again used my small round brush, but this time used a sweeping stroke to apply some of the pink Slipper ink to the page. As these are dye based inks, they will reactivate and blend when wet, so I added the strokes into the spaces around and between the other colours.

I then allowed the Slipper ink to dry completely before adding more detail. The next colour I used was Sunburnt - used to apply the narrower sweeping strokes over the Slipper ink and the clusters of small dots. I used Spice to apply the small, short strokes.

Now it was time to add my "fence" to the bottom section of the page. I used Slipper for the base colour, then Sunburnt and Cider for the detail and highlights over the top.

With all the inks in place, I left the page to completely dry before colouring in the background. I wanted a soft tone so as not to draw away from the focus of the picture, so I used Stormy Weather Colour Shimmer Spray (a nice soft, shimmery grey) and simply dipped my small brush into the bottle and painted in the remaining blank area of the page. I took care not to overlap any of the inked areas so as not to muddy the colours.

Once the background was dry, it was time to add the final details. I used my Stabilo All pencils (black and white) to draw in the detail over the top.

I started with the black pencil, using it to trace the lines around and between the colours; following the naturally occurring lines formed by the inks. I also used the black pencil to colour in any remaining spots of white around the edges, between the flowers and also on the background.

To finish off, I added a few highlights with the white pencil.

(I was so happy with the result of this painting that I even framed it!)

And there you have it - a fun, simple project that you can try yourself with very few supplies. You don't need any particular artistic talent to be able to create a project like this, just play with your supplies and see what comes out.
Until next time, happy creating! X
No comments:
Post a Comment